Enter a gaming PC, or even better… build a gaming PC. For an entry-level gaming computer, a VR-ready powerhouse, or a budget-friendly bargain to have extra room for future upgrades, you can still buy the best gaming PC for you. Gaming PCs are known for their long-lasting performance as they can weather the test of time and not get old like a smartphone. They have more power than any gaming console, more versatility than an Nvidia Shield, and are small.
A gaming PC is an excellent choice if you need a machine for typing documents, playing the latest PC games, or editing videos. With regular maintenance and occasional changes, your system can easily last 5-10 years. However, that process is quite scary and complex for a beginner builder. There are a lot of tutorials, but before you learn from them, it’s important to think about why you are building a PC and what you want to do with it. So considering all of these, how do you choose the best parts for a DIY gaming PC?
What are the Important PC Components You Should Need?
If you are ready to break ground and start building the PC, here are a few more important planning tips for you. Here’s a list of the main parts you’ll need:
- Case: Choose one that fits your style and one that can contain all your components. Some of them are the NZXT 510, which is recommended for low-budget builds, while the Thermaltake Core P8 is a good choice for high-end PCs.
- Motherboard: It is usually termed the backbone of your PC. It must support your CPU as well as other related components, including the GPU.
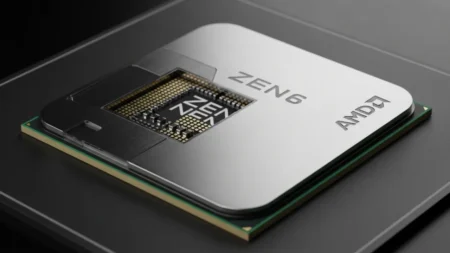
- CPU (Processor): AMD and Intel are the two big names for building processors in the industry. For gaming, we recommend AMD’s Ryzen series where you can find the Ryzen 5 with 5600 or 5600X and the Ryzen 7 with 5800 and 5800X for new and budget users. Alternatively, you can go with the 10th or 10th CPU from Intel’s i5 or i7 series considering your budget and preference.
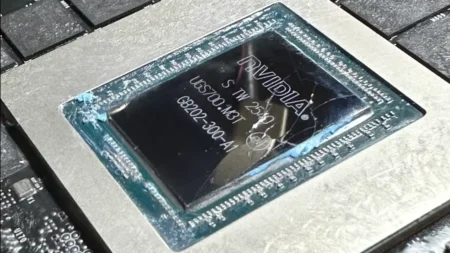
- GPU (Graphics Card): It’s the most important hardware part for gaming that forms the foundation and stability of the gaming platform. A graphics card should not be more than one to two generations old at most. The current affordable cards include the Nvidia RTX 30 series or the AMD Radeon RX 6000 lineup.
- RAM: This is where your computer stores data for quick access. Get at least 16GB of RAM for smooth gaming, and brands like Corsair and G.Skill are famous and reliable.
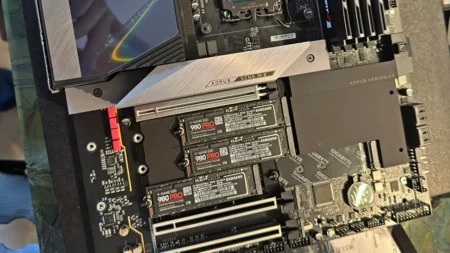
- Storage: As compared to conventional hard disk drives, SSDs, especially the NVMe SSDs, have much lower access latency. If you are planning to install and play the modern intensive titles, then 1TB SSD is a good starting point.
- Power Supply (PSU): The power supply may sound like the least exciting piece to building a gaming PC, but it’s the most important one in your gaming puzzle, precisely what you think it is: a piece that gets electricity from the primary outlet to the individual systems in your computer. The better the power supply option you choose for your gaming PC, the less stress it will cause you. A 600W to 750W PSU is generally sufficient.
- Cooling: In case the CPU is quite powerful, you’ll require additional cooling. Air coolers are a little easier to install while water or liquid coolers, such as AIO tend to outperform air coolers.
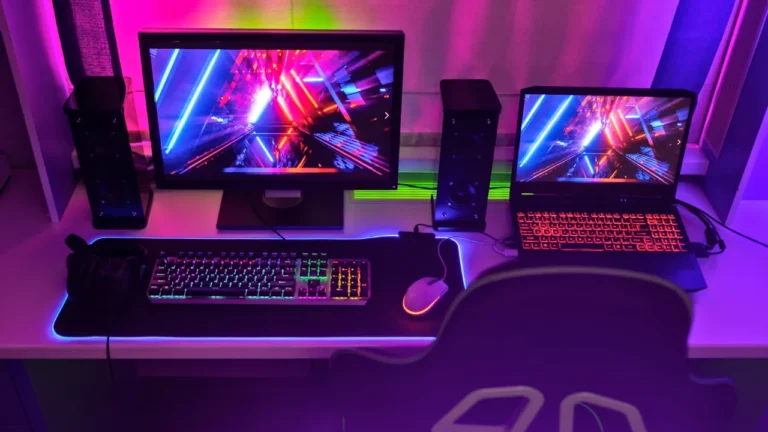
- Peripherals: The accessories that make up the computer include a keyboard, mouse, monitor, headphones, and other necessary computer peripherals.
Moreover, extra options like secondary hard drives or cooling systems are good to have but not the must-have parts.
These are some essential parts that you need to move from a mass of hardware to a functioning gaming PC. Jumbled-up wires, broken sockets, and bad thermal paste application. These are all common mistakes newcomers make when building a PC. You certainly don’t want that to happen to you, right? Thankfully, you don’t need to build your gaming PC anymore and instead can use a reputable platform to do all the work for you. You’ll just need to select the specs that you require, and you’ll get a prebuilt PC that matches your needs in no time!
Lastly, you must look for these tools within your budget. You won’t be willing to spend $1,500 on a concept that is $1,000 in actuality. A good gaming PC will remain with you for a long time. We get it, you want to get into gaming, but don’t have the time or expertise to build a gaming PC yourself. Or, maybe choosing amongst all the different choices of RAMs and CPUs can be a bit overwhelming. No worries, you can take a look at PC Builders, who do all the heavy lifting for you from choosing your specs according to your needs and building the PC itself. In that avenue, the MVP offers custom and pre-built gaming PCs at reasonable rates.
How to Completely Build a Gaming PC
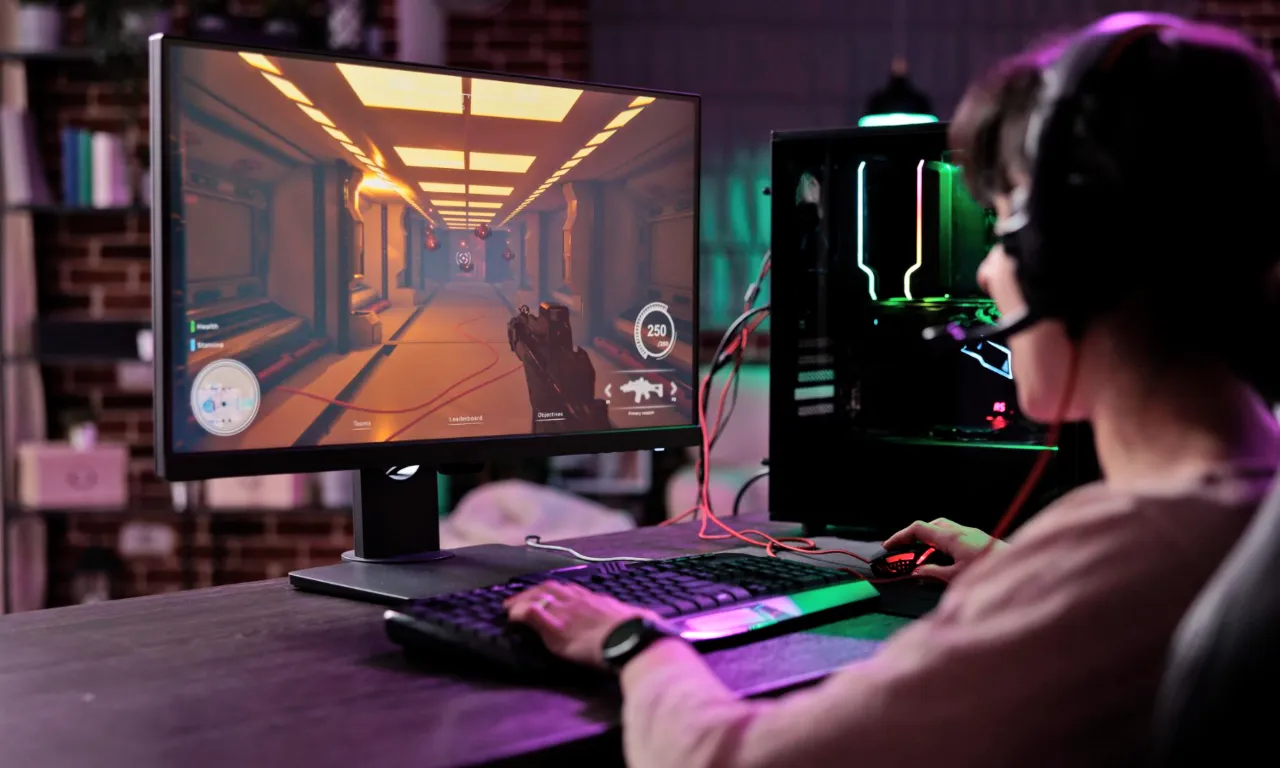
Here is the step-by-step process of building your custom gaming PC from scratch:
Step 1: Preparing Your Workspace
Find a clean, flat, and static-free workspace. Get together your tools, primarily just a Phillips screwdriver. Additionally, you will want to get an anti-static wrist strap or mat to reduce the risk of causing any static-related damage to your parts.
Step 2: Installing the Power Supply
The first step is to install the PSU in the case. The bulk of the cases do offer a forehead or footer focusing on. Then secure it in place with the screws, ensuring the fan is facing the correct direction to suck in cold air and blow out hot it out properly.
Step 3: Installing the Motherboard
Lay the case on its side and find the standoff screws in the case. Line up the motherboard with these standoffs, and then secure the board using screws. Connect the front panel connectors (power button, reset button, USB ports) to the motherboard by this cable. The exact placement of these headers is as per your motherboard’s manual.
Step 4: Installing the CPU and RAM
Handle the CPU carefully; pull back the retention arm on the CPU socket on the motherboard, properly align the chipset (matching the notches or arrow), and place it into the socket carefully. Bring the retention arm again to secure the CPU. If your heat sink does not come with paste already applied, put a pea-sized dot of thermal paste on the specific place.
Gently install the RAM by lining up the notches with the motherboard slots, and then pressing down, and you will feel them click into place. All mobos have either 2 or 4 slots, and if you are using only 2 RAM sticks then refer to the motherboard manual for the recommended slots to use.
Step 5: Installing the CPU Cooler
The air cooler needs to be placed directly on the processor. When using an AIO cooler, install the radiator and fans on the case first, then the cooling block to the CPU. Secure all screws and link the cooler power cable to the right header on the motherboard.
Step 6: Installing the Storage
Find the M.2 slot on your motherboard for NVMe-SSDs. Slide in the drive at a slight angle and push it down until it clicks into place with the motherboard. Fasten it with the screw that comes with it. 2.5″ SSDs or HDDs: Plug directly into the drive bays of your case and hook up to the motherboard using SATA cables.
Step 7: Installing the Graphics Card
Unlock and remove the necessary expansion slot covers on the case. Insert the GPU into the PCIe slot, which is most likely the top slot connected to the CPU. Screw the card and plug it in using the appropriate power cables to the PSU.
Step 8: Cable Management
Cable management goes a long way for airflow and looks. Zip ties the cables together and routes them through the case’s cable management features. Connect the other power cables that directly plug into the motherboard, GPU, and storage devices.
Step 9: Final Checks and Boot
After installing all the components, take a moment to double-check all the connections to make sure their connections are fine. It is especially important for the power supply, which needs a secure link to the motherboard and graphics card. If you are unsure whether a component is properly connected, refer to the manufacturer’s instructions. Once you are satisfied that all the connections are secure, close the case panels and connect your monitor, keyboard, and mouse. Finally, plug in the power cord and switch on the power supply.
Press the power button. Assuming everything is good in the build, you should have a powerful working PC. Boot the BIOS to make sure everything is detected and have your start-up order set.


