- 1. Know What You’re Buying — Don’t Trust the Listing Alone
- 2. Check the Physical Condition
- 3. Test Storage Health
- 4. Check Battery and Power System
- 5. Test Performance and Component Stability
- 6. Verify Operating System and Licensing
- 7. Check for BIOS Locks, Security Restrictions, and Corporate Controls
- Red flags
- 8. Evaluate the Seller
- 9. Run a Clean OS Install
- 10. Consider Future Upgrades Before You Commit
Buying a used computer can save you hundreds of bucks, but only if you can tell a solid deal from a blunder. A secondhand PC might look great on the outside, but performance issues, failing parts, or software problems begin to appear weeks later. So before you spend cash, take the time to inspect it, test it, and make sure it’s actually what the seller says it is. Here are the main things to look at when you’re one step away from closing the deal.
1. Know What You’re Buying — Don’t Trust the Listing Alone
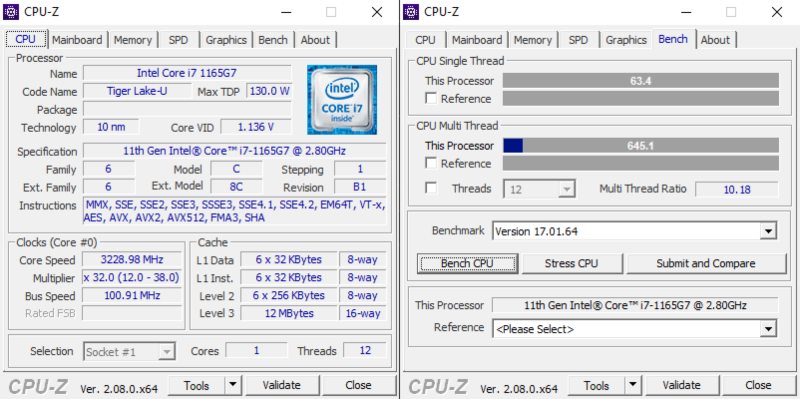
Start the process with the real specifications check. Sellers have mostly wrong details, sometimes by accident, sometimes not. So confirm exactly what’s inside the machine, including CPU model, RAM size, storage type, and GPU.
Here’s how to verify it:
- On Windows, press
Windows + Pause/Breakor go to Settings → System → About. - On macOS, click the Apple menu → About This Mac.
- Use tools like CPU-Z, HWInfo, or Speccy to get a full PC hardware breakdown.
Further, open Device Manager or Task Manager to confirm what’s installed on the OS. Don’t rely on printed labels or verbal promises because these can be outdated or wrong.
2. Check the Physical Condition
A used computer’s exterior can reveal how it was handled and often, how it performs inside. Scratches are fine; structural damage isn’t. Always inspect the build carefully before you power it on.
- Chassis and frame: Run your hand across the edges and corners. Look for cracks, warping, or gaps between panels; all are signs of impact or poor repairs. Stripped or mismatched screws mean it’s been opened before, which isn’t bad by itself but there can be internal tampering or part swaps.
- Screen and hinges: Power on the display and open a white background. Check for dead pixels, screen flickering, or uneven brightness. Close and reopen the lid — if the hinge seems loose or creaks, it will fail soon. Replaceable on desktops, but expensive on laptops.
- Keyboard and trackpad: Every key should respond evenly and be responsive. Visit the typing test site (like KeyboardTester.com). If some keys double-register or stick, there can be liquid damage. Move your finger around the trackpad to feel smooth, consistent, and responsive to gestures.
- Ports and connectors: Plug in something to every port like USB drive, HDMI cable, headphone jack, SD card. Old laptops mostly have worn-out ports that don’t connect correctly.
- General feel: A machine that rattles, flexes under slight pressure, or has missing rubber feet has seen rough use. It likely has some secret internal problems like loose heat sinks or cracked mounts.
Take your time during this step; it’s your first and best chance to spot problems before you proceed further with the deal.
3. Test Storage Health

If there is one component that tells if a used computer will last, it’s the storage drive. Hard drives (HDDs) wear mechanically, and solid-state drives (SSDs) degrade electronically; both eventually fail. So spend five minutes to test storage health before buying.
Here’s how to test it:
- Use diagnostic tools:
- On Windows, install CrystalDiskInfo. On macOS, use DriveDx.
- These tools read the drive’s SMART data, real-time health indicators set by the manufacturer.
- Check the health status: Look for “Good” with no reallocated sectors or pending errors. If it shows “Caution” or “Bad,” physical degradation has started so don’t buy it.
- Check drive temperature: Healthy drives usually sit between 30–50°C during light use. Constantly high temperatures indicate poor cooling or an old drive.
If the computer still uses a traditional HDD, expect slow performance and click noises (a sign of failure). If you can, budget for an SSD replacement. Even a small SATA SSD makes a big difference in boot time, app load time, and system response. A drive test will tell you more about the system’s future reliability than any other test.
4. Check Battery and Power System
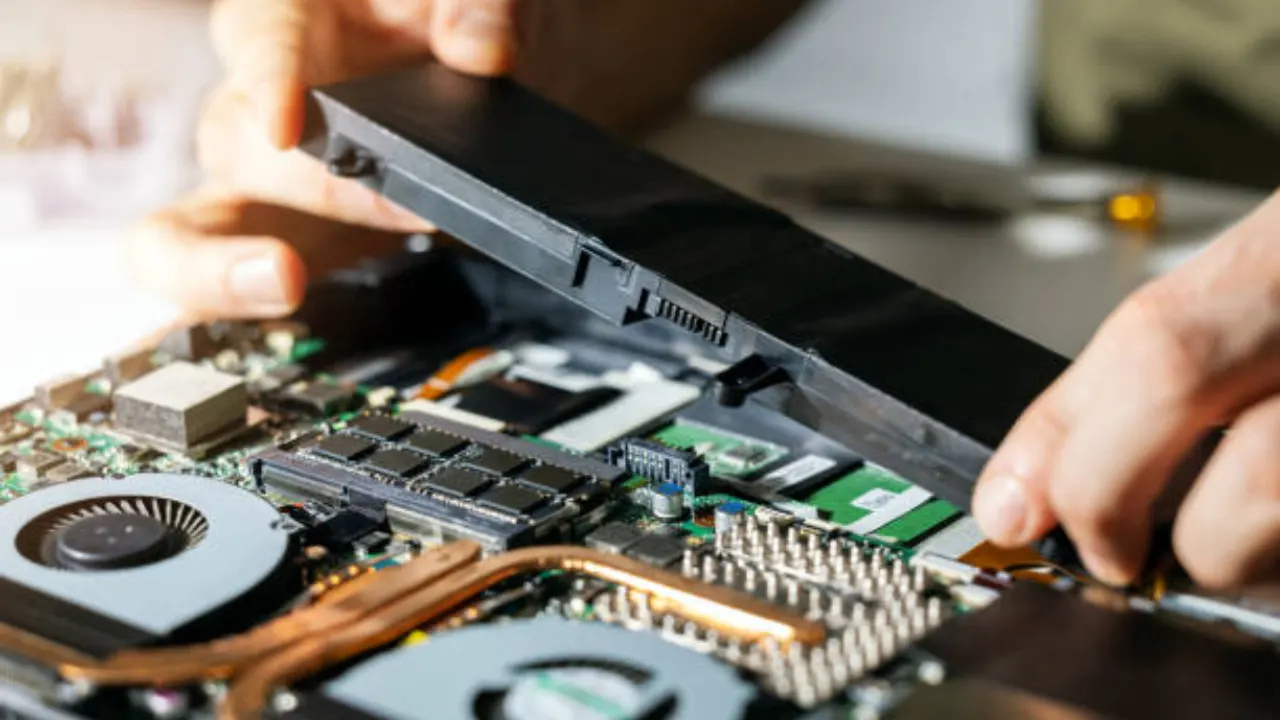
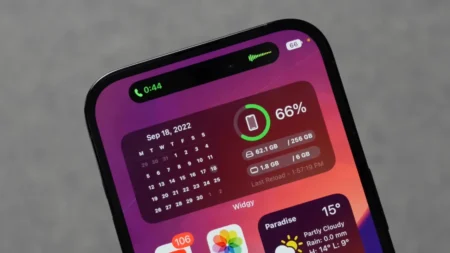
Laptop batteries degrade with every charge cycle. After a few years, most hold a fraction of their original capacity, and some swell or fail. A weak battery isn’t a dealbreaker but you need to know before you purchase.
Follow these steps to test the laptop’s battery status on Windows:
- Open Command Prompt (Admin).
- Run command:
powercfg /batteryreport - This will generate an HTML file in your user folder. Open it and compare the Full Charge Capacity with the Design Capacity.
If the current value is below 60–70%, the battery is near the end of its life. You’ll get shorter unplugged time and need to replace it soon.
Also check:
- Physical condition: Look for any bulging under the keyboard or touchpad; that’s a swollen battery, and it’s unsafe.
- Power adapter: Avoid third-party or off-brand chargers. Genuine adapters maintain stable voltage and proper charging current.
- Charging behavior: Plug it in and watch if it charges steadily. If the percentage jumps or stalls, it can be a power circuit issue, and it’s expensive to fix.
5. Test Performance and Component Stability
A computer that boots up doesn’t mean it’s always healthy. RAM, GPU, or cooling fans can operate fine at idle but might fail under stress. Always perform short, real-world, and benchmark-style tests first, as they’re another crucial factor to verify before buying.
- General use test: Run several everyday tasks at once like open multiple browser tabs, play a 1080p YouTube video, copy large files, switch between apps, and check for stutters, crashes, or freezes.
- Memory test: Use Windows Memory Diagnostic or MemTest86 to rule out unstable RAM. Memory issues usually cause random reboots and blue screens, hard to spot otherwise.
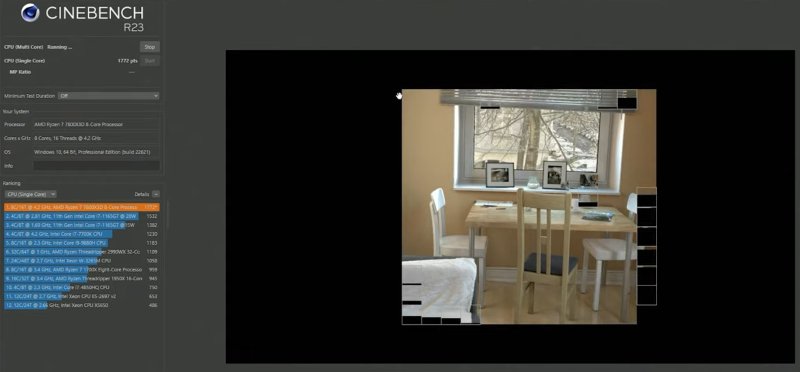
- Processor and GPU stress: Download Cinebench (for CPU) or 3DMark (for GPU). Run a short benchmark and observe system stability. The test shouldn’t trigger a restart, freeze, or excessive fan noise immediately.
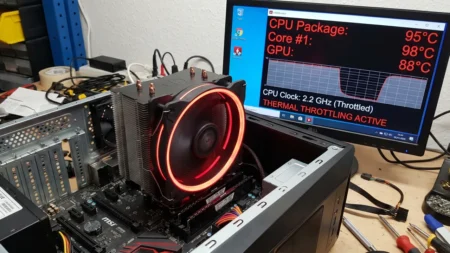
- Thermal behavior: Monitor live temperatures with HWMonitor or NZXT CAM.
- CPU temps under load should be below 90°C for laptops and 80°C for desktops.
- GPU temps should remain under 85°C during tests.
If the system overheats, throttles, or shuts down, this should be due to clogged fans, dried thermal paste, or serious cooling issues. A short stress test will tell you the long-term system behavior. If it handles real workloads without hiccups, it’s a good machine. If it chokes under pressure, you’ll be fighting instability and heat from day one.
6. Verify Operating System and Licensing
Many used or off-lease computers are preloaded with an operating system, but it’s not always properly licensed. An unlicensed OS leads to constant nag screens, blocked updates, or even system deactivation later. So before you buy, make sure the copy of Windows or macOS is genuine and transferable.
On Windows PCs:
- Go to Settings → System → Activation. You should see: “Windows is activated with a digital license.”
- If it says “Not activated” or asks for a product key, buy a new license that’s an extra $100+ you may not have budgeted.
If the PC was part of a company lease, it might have a volume license from the business. These become invalid once the company retires the machine. In that case, do a clean install and enter your own official Windows product key.
On Macs:
Open System Settings → Apple ID and make sure the previous owner’s account is completely removed. Further, check that Find My Mac is off because this disables Activation Lock, which makes the system unusable without the previous owner’s Apple ID credentials.
With no proper OS activation, the system won’t receive future updates or security patches. Worse, if the OS is linked to another account, you’ll be locked out completely after a reset. Always verify the operating system’s legitimacy before paying; it’s not worth getting a machine you can’t truly own.
7. Check for BIOS Locks, Security Restrictions, and Corporate Controls
If a used computer is locked at the firmware level, you won’t have full control over it. Many business computers have BIOS or UEFI passwords, remote management tools, or restricted boot settings that linger even after a reset.
Here’s what to check:
- Enter BIOS/UEFI: Restart the computer and press F2, Del, or F10 (depending on brand).
- Make sure all menus are accessible, not only “view mode”. If any sections are grayed out or ask for a password, the firmware is still locked.
- Check for features like Intel vPro / AMT or Dell Data Protection, which indicate remote management software that could be reactivated.
- Secure Boot and TPM 2.0 must be available and enabled; these are required for Windows 11 and improve overall system integrity.
Red flags
If the seller can’t disable the BIOS password or doesn’t know it, walk away. Some corporate systems are asset-tagged or enrolled in management servers and you can’t reinstall or reconfigure them freely. So if you can’t open the BIOS or reset security features yourself, the computer is not the right pick.
8. Evaluate the Seller
Where you buy a used computer matters more than the specs on paper. A good seller provides transparency, testing, and a return policy.
If you’re buying from refurbishers, go after certified resellers like:
- Dell Outlet, HP Renew, Apple Refurbished, or Amazon Renewed
- Local computer shops that specialize in refurbished business laptops (and give written warranties)
These sellers typically clean the system, replace worn-out parts, and include a 30–90 day warranty.
But if you’re going to buy from individuals, be careful but thorough:
- Meet in person when possible and power on the system yourself.
- Check the system boots and matches the advertised specs.
- Avoid listings with stock images or unclear model numbers.
- Watch for evasive behavior; honest sellers answer with a smile or show receipts.
Also, check for return options or buyer protection at online platforms such as eBay or Facebook Marketplace. A return policy is mostly the only safeguard against hidden issues. A slightly higher price from a reputable seller is always cheaper than a “great deal” that fails next month.
9. Run a Clean OS Install
Even if the system looks to have been freshly reset, always wipe it yourself. A clean operating system install ensures there’s no leftover data, malware, or hidden user profiles from the previous owner’s side.
This is what to do:
- Back up any drivers or firmware updates from the manufacturer’s website first.
- Create installation media:
- On Windows: Download the Media Creation Tool from Microsoft and make a USB installer.
- On macOS: Boot into Recovery Mode (Command + R) and reinstall from Apple’s servers.
- Erase all partitions during setup.
- Install clean drivers and updates once installation is done.
It takes an hour or two but get rid of every unknown variable, and you have the clean, secure system to perform at its full potential.
10. Consider Future Upgrades Before You Commit
Not all used computers are created equal. Some can grow with you, while others are locked down and outdated the moment you buy them. Before buying, check the upgrade potential because that’s what makes an older system a smart investment rather than a short-term fix.
These are the crucial things to verify:
- RAM: Can it be upgraded, or is it soldered to the motherboard? Check the manufacturer’s support page for the model’s maximum supported memory.
- Storage: Is there an extra M.2 or SATA slot to equip a second drive? Even a small SSD for the OS can make an old system like new.
- Graphics (for desktops): Make sure the power supply (PSU) and motherboard support a new graphics card if you have a future upgrade in mind.
- Ports and connectivity: Some older systems lack USB-C, Wi-Fi 6, or Bluetooth 5, which matters depending on what you need.
A used computer with good bones and room to grow will outlast many new budget models. Spending a little more on a system that can be upgraded later is cheaper than going for short-term savings.