- 1. Confirm It’s Screen Flicker, Not Something Else
- 2. Identify If It’s a Software or Hardware Problem
- 3. Check for Display Driver Problems
- 4. Adjust Display Refresh Rate
- 5. Disable Windows Desktop Window Manager (DWM) Conflicts
- 6. Identify Problematic Apps or Background Processes
- 7. Check Windows Power and Brightness Settings
- 8. Update BIOS and Chipset Drivers
- 9. Check Screen Cable or Hardware Connection
- 10. Run a System Check for Corruption or Conflicts
- 11. When to Seek Professional Help
A flickering laptop screen can make the machine hard to use and strain your eyes. Most of the time, it happens due to software conflicts, display driver problems, or a hardware issue, and you can usually fix it yourself before you need to pay a visit to a repair shop. This guide shows the common causes and the easy fixes for laptop screen flickering, so you can get back to whatever you were doing before the screen started acting up.
1. Confirm It’s Screen Flicker, Not Something Else
First, check what you face is actually a flickering problem. Flicker display looks like quick dimming or flashes on and off. Other symptoms, such as pulse brightness or color tint changes, can result from auto-brightness or power-saving settings rather than a failing screen.
For a quick check, connect your laptop to an external monitor or TV with HDMI or DisplayPort.
- If the external display flickers too, the issue is software- or GPU-related.
- If the external display looks normal, the problem is likely the laptop screen or the cable that connects it.
2. Identify If It’s a Software or Hardware Problem
If you have confirmed it’s the display flicker from the above test, then first check if the problem is due to software (drivers, settings, or apps) or hardware (a faulty display, loose cables, or a damaged GPU).
Here’s how to verify it:
- Press Ctrl + Shift + Esc to open Task Manager.
- Is Task Manager flickering too?
- If yes, it’s likely a hardware or a driver problem.
- If not, the issue is probably caused by an app or settings conflict.
If you see flickering everywhere, including startup or BIOS screens, hardware failure is most likely the reason (skip ahead to the hardware fixes).
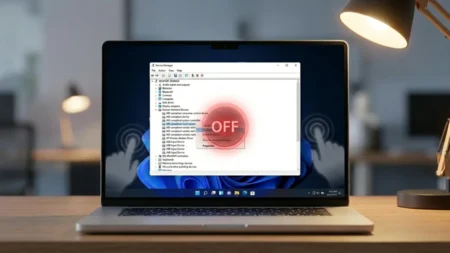
3. Check for Display Driver Problems
Display drivers control how Windows communicates with your graphics hardware. When they’re corrupted or outdated, screen flicker is a common symptom.
Step 1: Open Device Manager
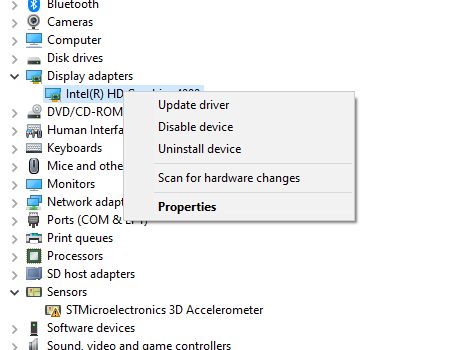
- Right-click the Start menu → choose Device Manager → expand Display adapters.
Step 2: Reinstall or Update Drivers
- Right-click your graphics card → select Uninstall device → restart your laptop. Windows will reinstall a clean driver automatically.
- Or, choose Update driver → Search automatically for drivers if you want to check for updates.
If you use a laptop with dedicated graphics (like NVIDIA or AMD), download the latest drivers directly from their official websites instead of relying on Windows Update.
Tip: Once update is done, restart your laptop and check if the flicker stops. If not, you may need to perform a clean graphics driver reinstall using tools like Display Driver Uninstaller (DDU) that removes all old driver traces before reinstalling fresh.
4. Adjust Display Refresh Rate
Sometimes the flicker comes from a mismatch between your display’s refresh rate and what Windows is set to use.
- Right-click on your desktop → choose Display settings → click Advanced display settings.
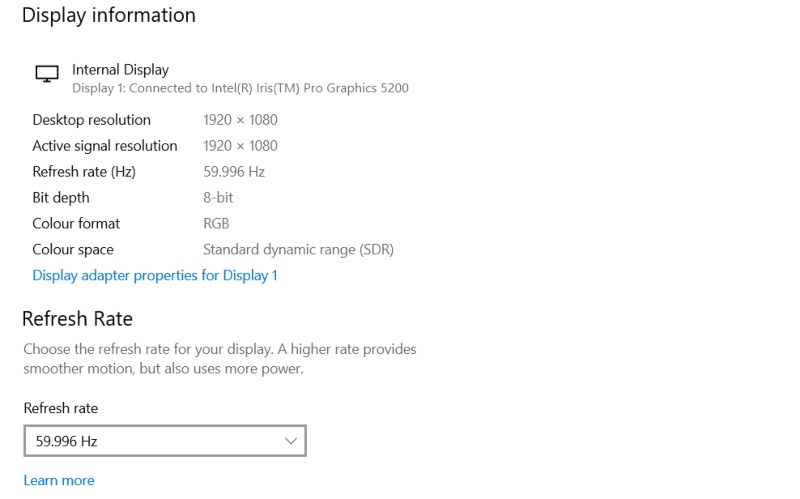
- Under “Refresh rate,” set it to 60 Hz (the most stable and universal setting). Some laptops default to 48 Hz or adaptive rates, which can also lead to flicker during screen dimming or power changes.
If your laptop has a high-refresh-rate display (such as 120Hz or 144Hz), toggle between rates, and whichever gives stable visuals is the correct refresh rate for your notebook display.
5. Disable Windows Desktop Window Manager (DWM) Conflicts
Windows uses the Desktop Window Manager to handle animations, transparency, and screen composition. Many apps or driver bugs can make it misbehave, resulting in flicker or stutter.
To fix it:
- Open Settings → System → Display → Graphics settings.
- Under “Hardware-accelerated GPU scheduling,” turn it off.
- Restart your laptop.
If your system uses older Intel integrated graphics, also disable visual effects temporarily:
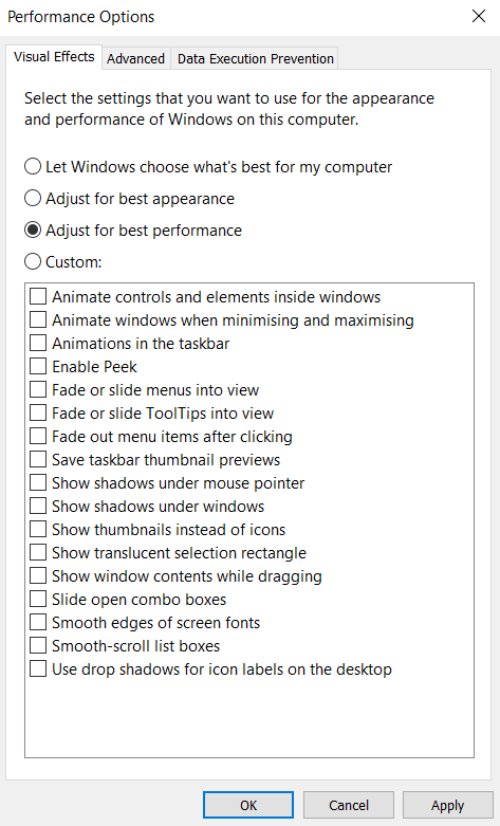
- Type “Adjust the appearance and performance of Windows” in the Windows search bar and click on it. In the opened pop-up, choose Adjust for best performance → Apply.
This removes fancy animations and may stop screen flickering on old PC hardware.
6. Identify Problematic Apps or Background Processes
Many apps, especially those that access the screen constantly (like video players, browsers with hardware acceleration, or antivirus overlays), can also be the reason for flickering.
- Press Ctrl + Shift + Esc to open Task Manager
- If Task Manager also flickers beside the whole screen, it’s probably a display driver problem. If Task Manager doesn’t flicker, but the rest of the screen flickers, a background app is creating the issue.
Disable or uninstall offending incompatible apps. The most common troublemakers are:
- Antivirus software (Norton, AVG, Avira, etc.)
- Display management tools (Intel Graphics Command Center, Dell PremierColor, etc.)
- Browser hardware acceleration
Disable “Use hardware acceleration when available” under your browser’s settings and restart the browser to see if the problem is fixed.
7. Check Windows Power and Brightness Settings
Automatic brightness adjustment or power-saving features also occasionally cause a quick dim display that you still think flickers.
Follow these steps to adjust the Power Plan:
- Go to Control Panel → Power Options.
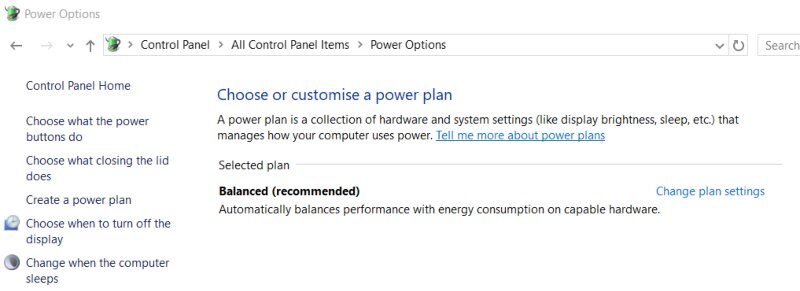
- Select High performance or Balanced, not “Power saver.”
- Click Change plan settings → Change advanced power settings.
- Expand Display → Enable adaptive brightness → turn it off.
- Further turn off battery saver effects. For that, go to Settings → System → Power & battery → disable “Battery saver” or reduce its screen dimming percentage.
These changes will keep screen brightness stable even when you switch from a charger to a battery.
8. Update BIOS and Chipset Drivers
Sometimes, flickering is triggered by low-level firmware bugs, mainly on newly purchased laptops. The best practice whenever you open your brand-new computer is to update its BIOS, Windows OS, and all drivers.
- Visit your laptop manufacturer’s support site (Dell, HP, Lenovo, Acer, etc.).
- Download the latest BIOS update and chipset drivers.
- Install carefully, especially the BIOS, according to the manufacturer’s given instructions.
BIOS updates mostly include display controller fixes that aren’t available through normal Windows updates.
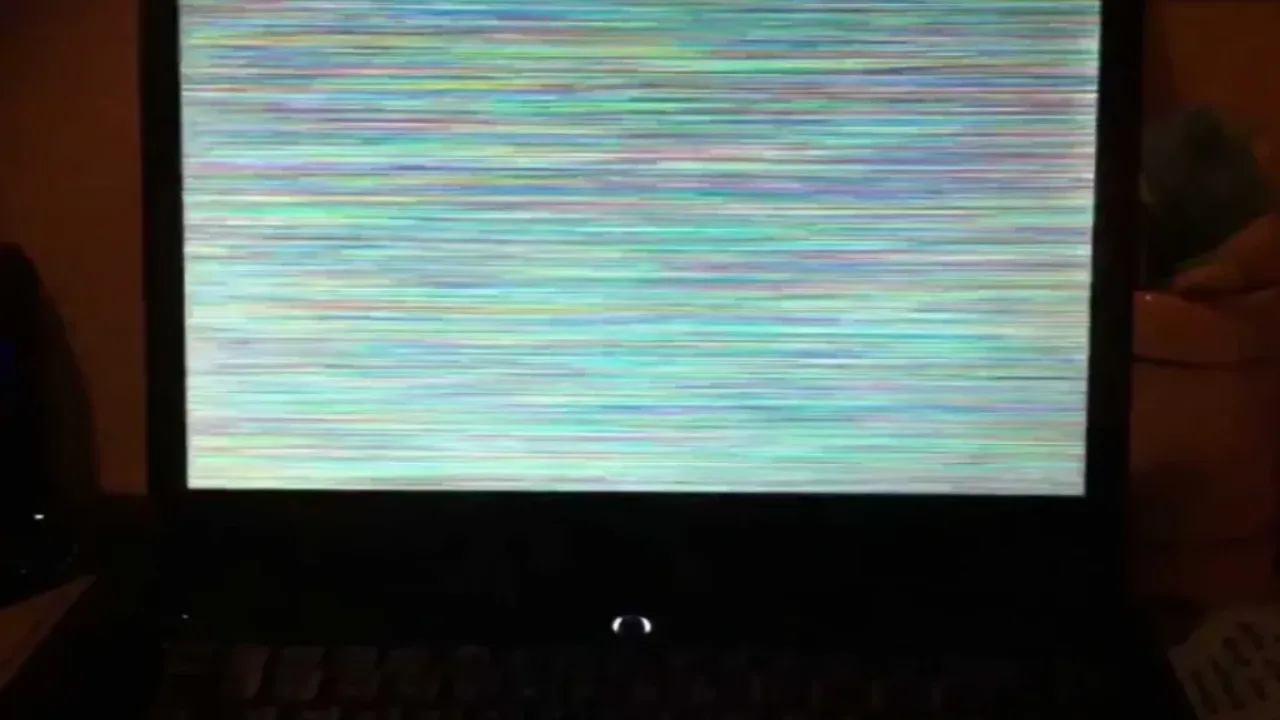
9. Check Screen Cable or Hardware Connection
If the problem continues after all software fixes, it’s likely hardware-related, particularly if flicker worsens when you adjust the screen angle and when you see random lines, color flashes, or ghosting. This points to a loose or damaged LVDS/eDP cable which connects the display to the motherboard.
In such a case, you can:
- Test by adjusting the hinge with the ON screen; if flickering changes, it’s a cable or connector issue.
- Visit a technician to reseat or replace the display cable. (If you haven’t done DIY for a PC or laptop before, attempting to open the lid yourself will void the warranty or damage fragile cables.)
If your laptop has an OLED or high-refresh-rate panel, the problem might even stem from backlight control (PWM flicker). Only a service technician can confirm that.
10. Run a System Check for Corruption or Conflicts
If everything else seems fine but the flicker continues, run a quick integrity check.
Open Command Prompt as Administrator and run:
sfc /scannow
Then:
DISM /Online /Cleanup-Image /RestoreHealth
These commands repair corrupted system files that might be interfering with display functions.
11. When to Seek Professional Help
If you’ve tried all the above solutions and the laptop screen flickering still is not fixed, it’s time to consider hardware repair and go to a professional technician. Common expert diagnoses and fixes include:
- Replace a damaged display cable.
- Replace the screen panel if the backlight or controller board fails.
- Inspect the GPU or motherboard for heat or solder problems.
If your notebook is under warranty, contact the manufacturer first because most companies offer free repair or replacement for display defects.
Did this fix your issue?
Let us know. Your feedback helps other readers find the right solution.
Great! What solved it for you?
We read every response. Email is optional and never shared.
Sorry to hear that. What happened when you tried?
Leave your email and we will personally help you fix it.