
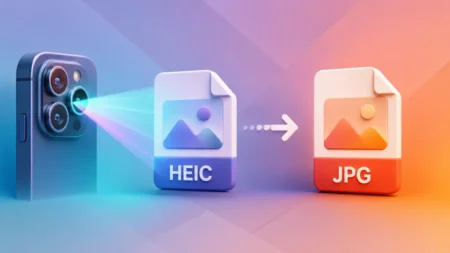
Apple’s High Efficiency Image Container (HEIC) format does an excellent job of saving storage space on iPhones, but opening these…
Step-by-step tutorials to help users solve common tech problems and learn useful device tricks.
Apple’s High Efficiency Image Container (HEIC) format does an excellent job of saving storage space on iPhones, but opening these…

On Mac, Apple deliberately hides many files from users. Dot-files, system libraries, configuration files, and cache directories are all invisible…
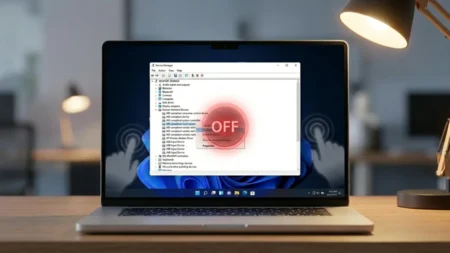
Windows doesn’t provide a Settings option to disable touchscreen, and that’s baffling given how common touchscreen laptops are. If a…
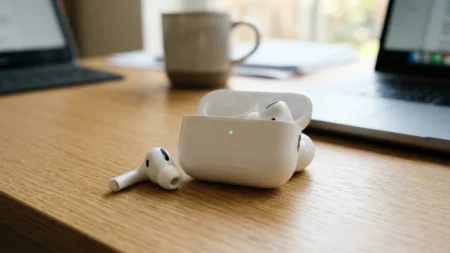
Yes, you can connect your AirPods to a PS5, but it’s not direct. Sony removed native Bluetooth audio support from…

Last verified: iOS 26.5 Applies to: iPhone 11, iPhone SE (2nd generation), and all later models for iOS 26; old…

Every time you open an app, stream media, or type a web address, your Android phone makes a DNS lookup,…
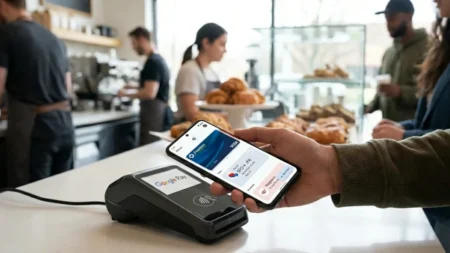
Google Wallet is a secure, encrypted digital vault for payment cards, transit tickets, loyalty passes, event vouchers, and government-issued identification.…

A disk write error on Steam can stop your game download or update with a failed install and a frustrating…

You make a privacy trade-off every time you install an app, and probably don’t even realize it. Android apps collect…

Wi-Fi problems on Windows can show up in different ways. Sometimes your PC sees the network but refuses to connect.…

We all have media on our phones we’d rather keep to ourselves. Maybe it’s a snapshot of your social security…
Removing an app from Windows sounds simple until the Uninstall button is missing, the program refuses to go away, or…

I’ll admit it—I hadn’t cleaned my earbuds for months. When I finally held my daily drivers up to the light…

Before you sell your Apple Watch, give it away, or try to fix a stubborn software glitch, you need to…

We used to have plenty of room back when Macs had spinning hard drives. Then came SSDs, which offer speed…

Your phone knows more about you than most people in your life, doesn’t it? It has been entrusted with bank…