Video files capture life’s best moments but like any digital data, they are not immune to corruption. A sudden crash, a bad transfer or even a small glitch can make your favorite video refuse to play and show error messages instead. But you don’t have to lose those memories for good. Whether you are on Windows or macOS, there are ways to repair damaged video files and get them working again.
What Causes Video Files to Get Corrupted
When a video fails to play, it’s mostly because part of the file structure or metadata has been damaged, and that damage can happen due to many reasons:
- Interruptions happen during file transfers or system shutdowns when you are editing or saving videos.
- Improper file conversions between different video formats.
- Damaged or missing video headers that store playback details.
- Virus or malware conflicts that disrupt read/write processes.
- Hard drive bad sectors or memory card errors.
- Incomplete or unstable video downloads.
Once a file’s internal data becomes unreadable, most media players won’t be able to open it, but repair is usually possible with a few easy methods.
Repair Damaged Videos Using VLC Media Player
Other than being a popular video player, VLC Media Player also includes a built-in repair feature to fix different file types, especially AVI videos. If your corrupted video is MP4 or MOV, you can first convert it to AVI format, then follow this repair process :
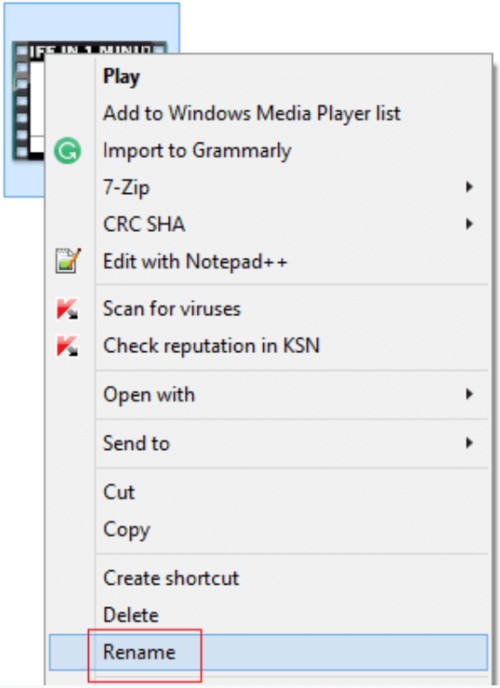
- Right-click your video, select Rename, and change the file extension to .AVI.
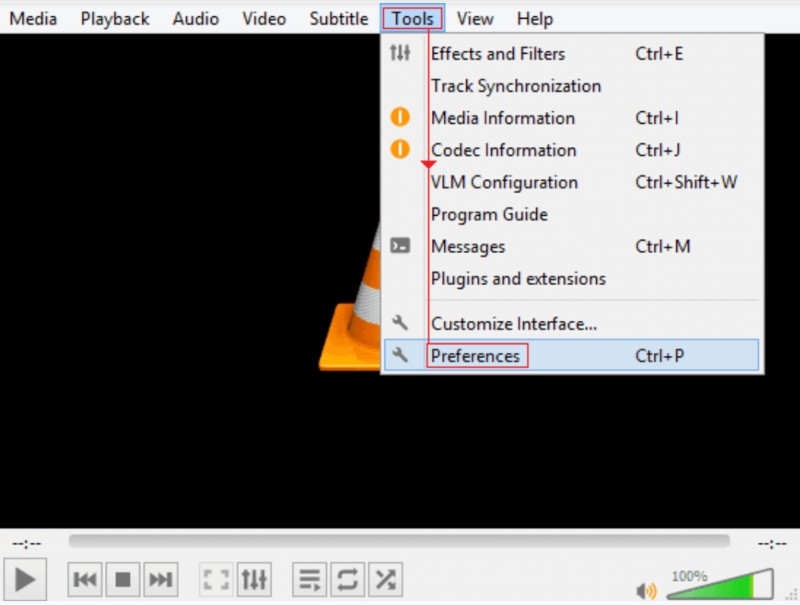
- Open the VLC player on your computer and from the top menu, head to Tools > Preferences.
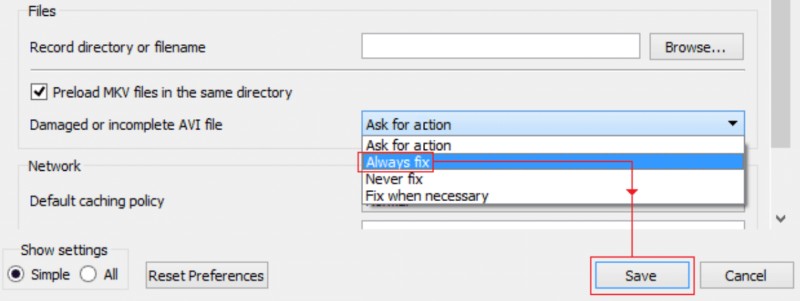
- Click the Input/Codecs tab and under Damaged or incomplete AVI file, select Always fix.
- Click Save, then play the file in VLC to see if fixed.
If the corruption isn’t severe, VLC will automatically rebuild the missing index and make the video playable again.
Adjust Video Output Settings in VLC
In some cases, the file itself may be fine, but your playback settings could be the issue. Adjusting VLC’s output mode mostly resolves playback errors:
- Open VLC, click Tools from the top bar, then Preferences, and go to the Video section.
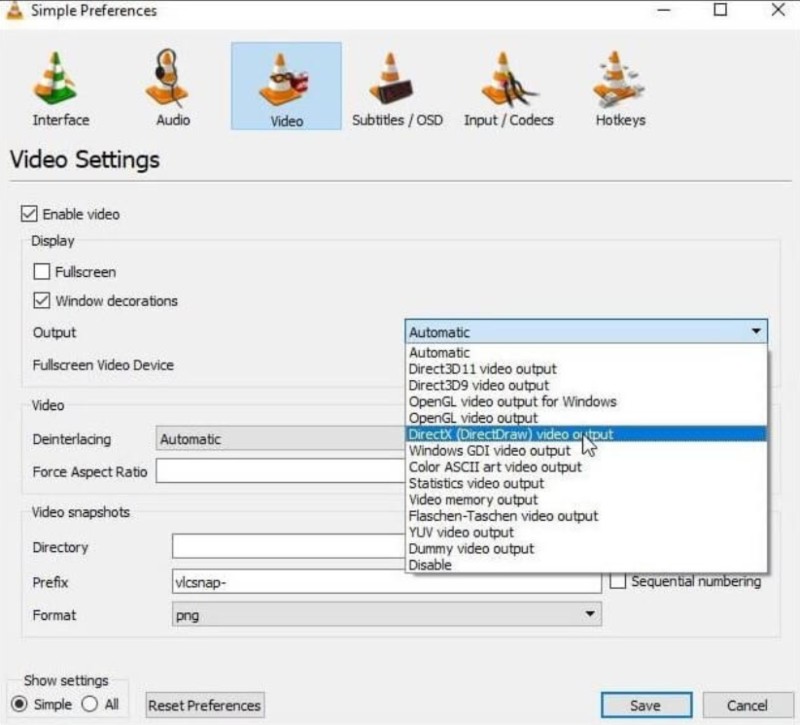
- In the Output drop-down, select DirectX (DirectDraw) video output and click Save.
Restart the player and open your video again to see the current status. This method refreshes VLC’s visual rendering and can bypass minor playback glitches.
Repair Severely Corrupted Videos Using Professional Software
If manual fixes don’t work, using a dedicated video repair tool is the best option. Stellar Repair for Video is one of the most trusted programs to restore damaged or unplayable videos on Windows and Mac. This tool supports all formats including MP4, MOV, AVI, MKV, etc, and can fix issues caused by broken file headers, missing frames or sync problems.
- First, download Stellar Repair for Video software on your Mac or Windows device.
- Launch the program and click Add File to select one or multiple corrupted videos.
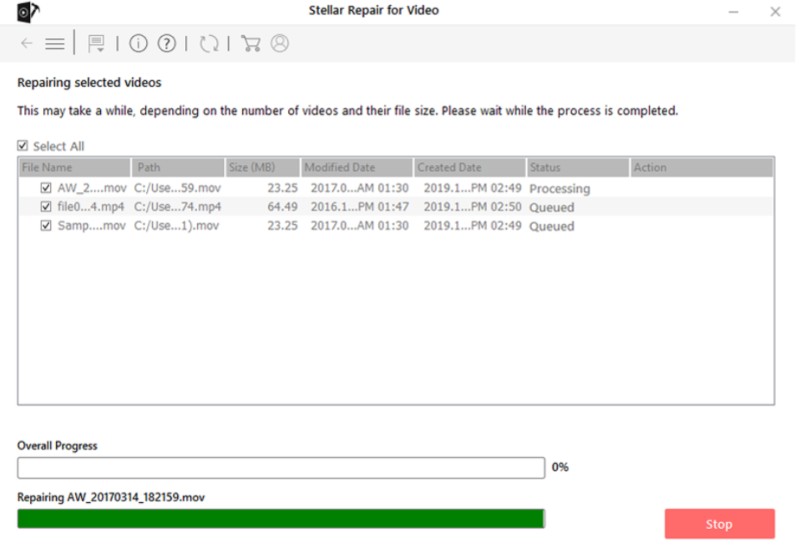
- Hit the Repair button to start the process that you can see on screen with a percentage indicator.
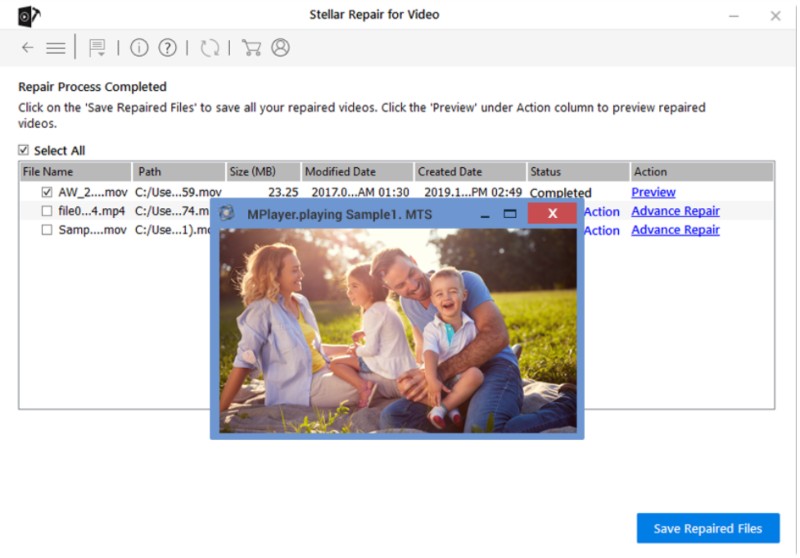
- Once the repair is done, click Preview to check the restored file.
- You can use the Advanced Repair if the damage is severe.
- Once you’re satisfied with the result, click Save Repaired Files to store them at any location or external drive.
The software is compatible with Windows 11, 10, 8, 7, and macOS Monterey, Big Sur, Catalina, and earlier versions, making it a reliable fix for both operating systems.
How to Check and Repair Corrupt Videos on Mac Using QuickTime
On a MacBook, you can use QuickTime Player to inspect and possibly repair minor video file errors before resorting to third-party tools.
- Open QuickTime Player and upload the damaged video file.
- Go to the Windows tab and click Show Movie Inspector to view detailed file information.
- If the file won’t play or shows a black screen, the video is damaged. Then select Edit > Preferences > QuickTime Preferences.
- Click Update to ensure you’re on the latest version.
- Restart QuickTime and play the video again to see if all is well this time.
If QuickTime can’t read the video, then the damage is beyond repair, and you should use a specialized tool like Stellar Repair for Video for Mac.
How to Prevent Video Corruption
Once you’ve recovered your video files, here are a few habits to stop the same from happening again:
- Always have a stable power source when transferring or editing videos.
- Keep your system and antivirus software up to date to block malware.
- Avoid interruptions during video transfers or downloads.
- Back up important videos to an external drive or cloud storage.
- Run disk checks periodically to detect and fix bad sectors early.
Follow these methods, and you’ll greatly reduce the chances of future video corruption and data loss. Corrupted video files are frustrating, but they’re never gone for good. With the right steps and some prevention, your memories will be safe and viewable for years to come.