
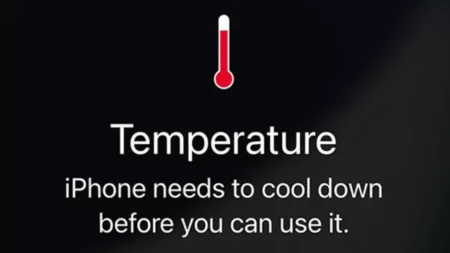
Your iPhone is warm to the touch, and now you’re wondering if that’s normal, a warning sign, or your phone…
Step-by-step tutorials to help users solve common tech problems and learn useful device tricks.
Your iPhone is warm to the touch, and now you’re wondering if that’s normal, a warning sign, or your phone…
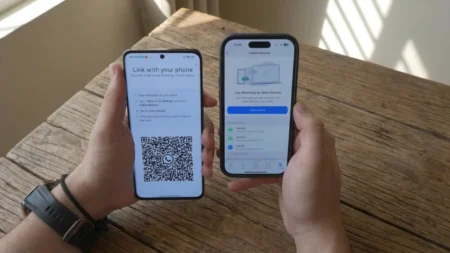
You need WhatsApp to be active on your personal phone and work phone. Or maybe you carry a backup device…

You click the Windows search bar. Nothing happens. You click again, still nothing. Or worse, it opens but ignores every…

AirPods have become the default wireless earbuds, in part because they pair quickly and sound good. But getting them to…

If there’s one piece of hardware where laptops beat desktops, it’s the battery. Thanks to it, you’re not forced to…

Hulu profiles keep watch history, recommendations, and parental controls sorted out for everyone on the account. When you see “We…

Video theft is more organized than most creators realize. It often involves automated bots that bulk-download content, re-uploaders that build…
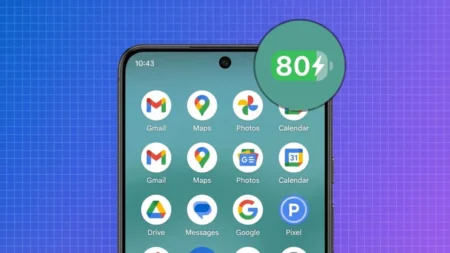
Does your Android phone stop charging at 80% and won’t budge? That’s usually either due to a battery-protection feature or…
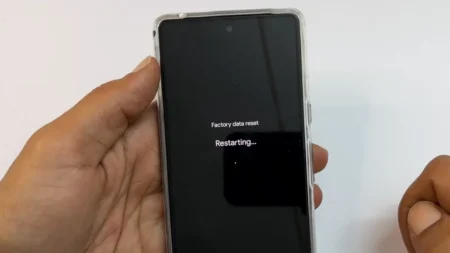
A factory reset, also known as a hard reset or master reset on Android, deletes all personal data and custom…
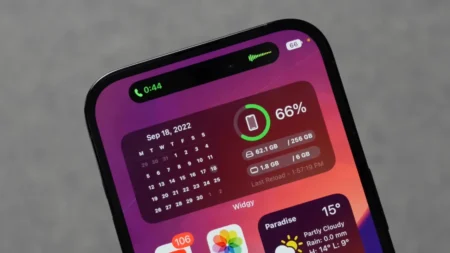
Apple introduced a new shape on the iPhone 14 Pro in 2022: a pill-shaped camera cutout at the top of…

A flickering laptop screen can make the machine hard to use and strain your eyes. Most of the time, it…
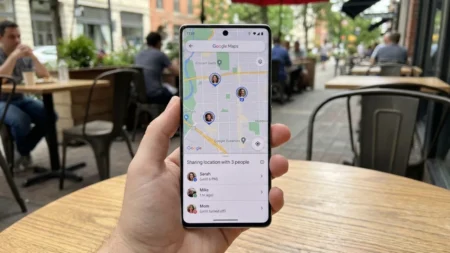
Location sharing on Android has come a long way from texting someone your address. It takes under a minute once…
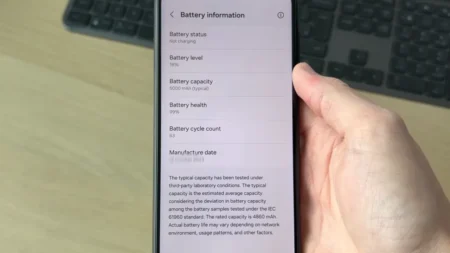
An Android phone’s battery degrades over time; that’s normal. After a year or two of daily charge, you’ll probably notice…

Hidden apps on Android aren’t rare. Some sit quietly in a folder, some are not visible on the home screen,…
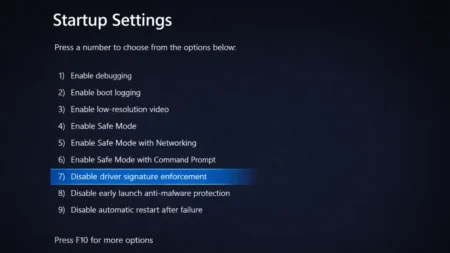
Driver Signature Enforcement (DSE) is a security feature in Windows 11 that blocks the installation of drivers that lack an…

Your iPhone’s contact list can easily turn into a graveyard of duplicates, old numbers, and people you haven’t talked to…